How to Do a Fruit Facial At Home
19 February 2015

Need a quick fix-me-up solution for your dull and lifeless skin? A fruit facial at home, as most would know, is your go-to option. But before that, let’s find out why your skin needs a facial in the first place. With daily wear and tear, your skin gets filled with impurities, your pores gets clogged, your skin ages and you don’t get enough sleep or relaxation. What a facial does is that it boosts your skin, deep cleanses and leaves you with a radiant complexion. The best part is that you don’t have to burn a hole in your pocket in order to get glowing skin, you have all the ingredients you need in your kitchen pantry and fridge, so stay away from those chemical treatments and choose an all-natural fruit facial that is just as effective. But how pocket-friendly is it to get it at your neighbourhood salon? Well, you know the answer. So here we are with neat ways on how to do fruit facial at home without having to spend too much or make any special efforts. Trust us, it’s simpler than you think. Read on for skin care tips to learn the steps on how to do fruit facial at home and get glowing skin, instantly
- Step 1 – Cleanse
Start by cleansing your face with a gentle face wash. But here’s a simple skin care tip you can try – dip a cotton wool in some cold raw milk and wipe your face with it. What cold raw milk does is that it keeps the pores dirt-free and gives you glowing skin. Once you’re done rinse with lukewarm water.
- Step 2 – Exfoliate
Next, you need to exfoliate, because without proper exfoliation, no facial will be effective! You can try a simple homemade scrub using oatmeal, lemon peel powder and a dash of Dabur Gulabari Rose Water. Gently rub the mixture on your face for around 5 minutes to scrub away the dead cells and then rinse. For more ideas for homemade scrubs read this article.
- Step 3 – Brighten
Now, over to brightening your complexion a little bit! All you need is honey. Take a spoonful and rub it on your face for an instant bleaching effect. Leave it on for 5 minutes and then rinse. To learn the skin wonders that honey possesses read this article.
- Step 4 – Unclog
Opening up the facial skin pores is also essential for making the most of a fruit facial. Take some water in a deep saucepan and boil it properly. After turning off the heat, set the pan aside for maximum 5 minutes. Then, cover your head along with your face with a towel and steam your face by leaning over the pan. It will unclog your skin pores almost instantly.
- Step 5 – The facial
Next, it’s time to choose the fruits for your facial. A skin care tip to keep in mind is to make sure you choose ingredients that suit your skin. A fruit facial that is fine for most skin types consists of a ripe banana or papaya, mashed up, mixed with some lemon juice and honey. Blend it all together to form a smooth paste and apply all over your face and neck. Leave it on for 15 minutes and then give yourself a gentle massage. To understand how to master the art of doing a face massage read this article. Then rinse with cold water.
- Step 6 – Moisturize
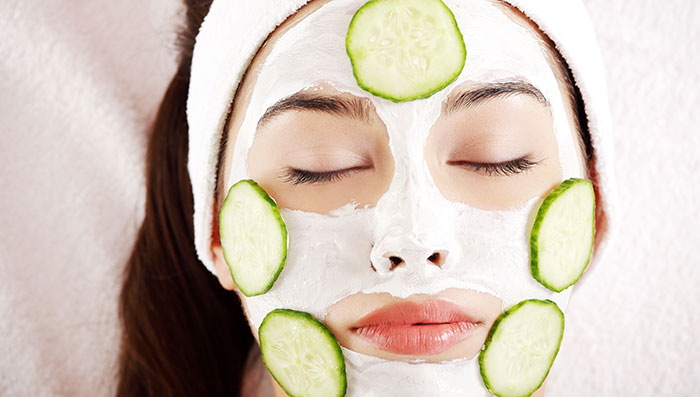
Follow up the facial with a soothing cucumber pack. You’ll need to squeeze some grated cucumber to remove the juice and then apply on to your face. Keep it on for 10 minutes and then rinse.
- Step 7 – Tone
The last step is about toning your skin. You could use a natural toner like Dabur Gulabari Rose Water for this. Wipe your face and neck with a cotton ball soaked in this and you’ll be left with beautiful glowing skin!
If you found this step-by-step tutorial with skin care tips useful, do let us know in the comments section.
Fields are required. Make some cool noise,
please don't spam and your voice will be heard.